How can I edit and delete classes?
Teachers are able to quickly and easily create new student accounts, edit their details, and shuffle them into different classes. This article explains how.
In this article:
Editing a class
Click on the class you would like to edit, click Edit/Add and then Edit class.

Here you can edit the following information:
- Class Year Level
- Upload Student IDs
- Add Existing Students to Class
- Reset assessment ranges for class
Click SAVE once you are happy with the details you have updated.

Updating Student IDs
You're able to bulk-edit student IDs, or upload them to begin with if student's don't have them attached by selecting Upload Student IDs.

From here, you can choose a file to upload containing the following information:
- First and last names
- NEW student IDs

Make sure that first and last names match according to how they're stored on the system to ensure the appropriate student IDs are attached to the correct students.
You can select School to upload a new set of IDs for the entire school.
Deleting a class
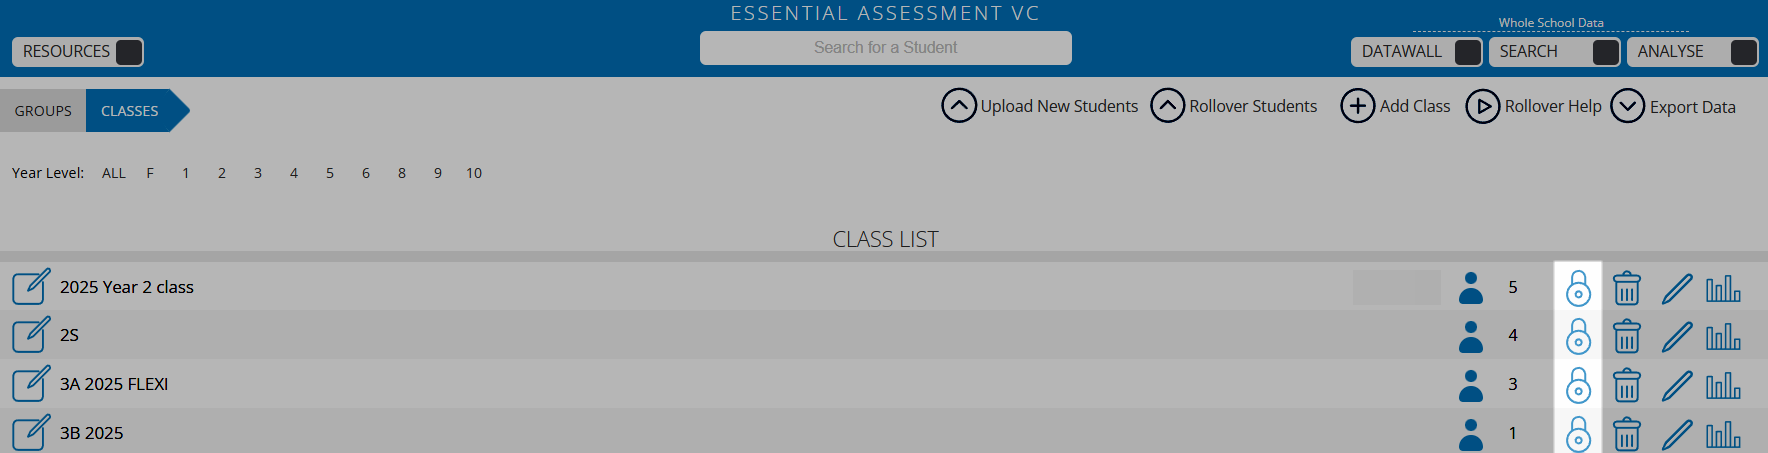
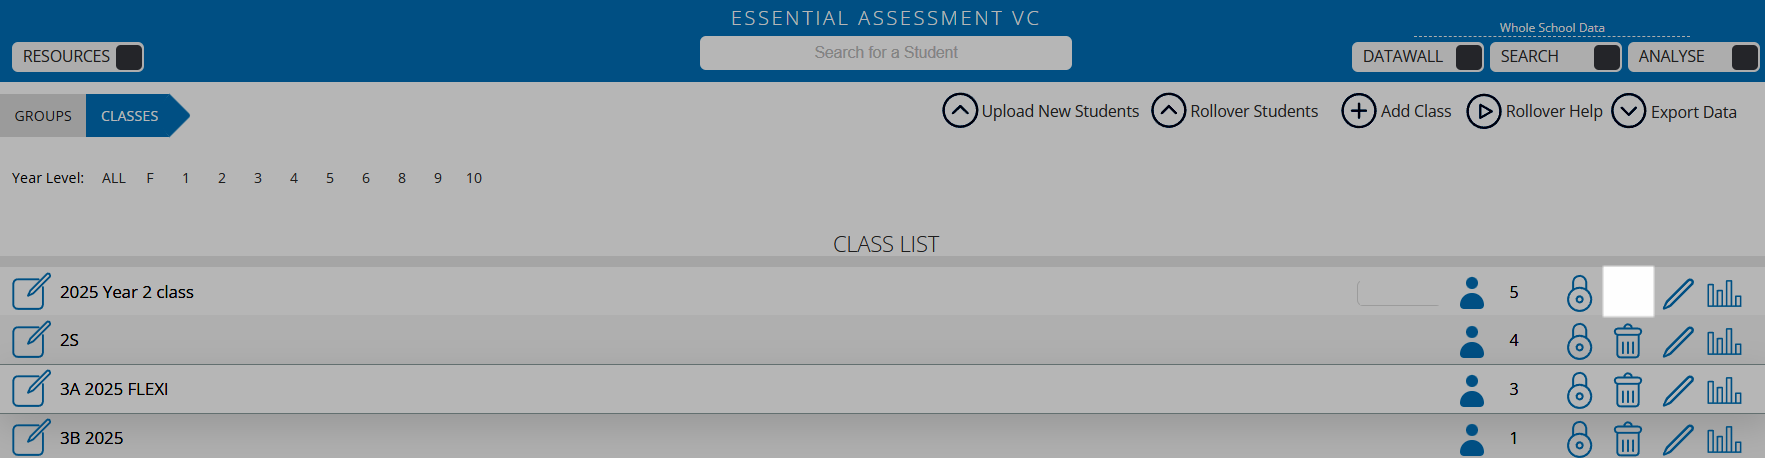
Click back into the main class overview screen and click the trash icon.

Click YES to delete the class.
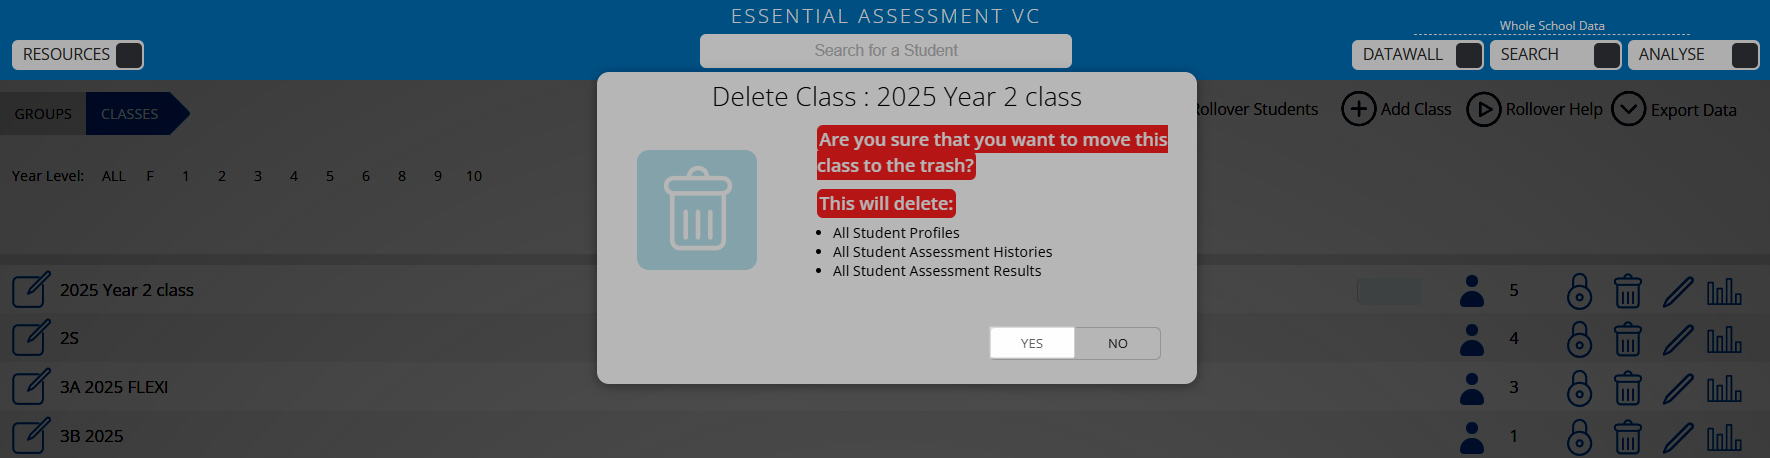
We recommend exporting any data you want to keep before deleting the class.
Locking a class
You're able to lock a class to prevent it from being deleted. Click the padlock icon.
From here, you will be prompted to enter a password that must be used if you want to delete the class in the future. Once you are happy with your password, click PROCEED.
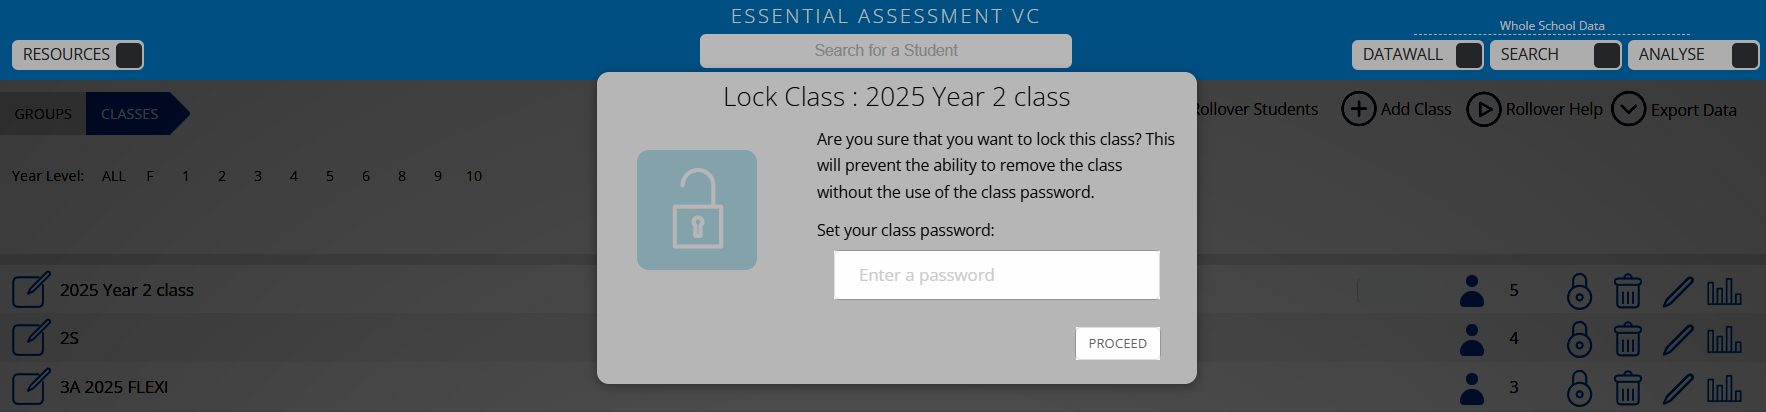
The trash icon will then be removed. To unlock the class, click the padlock icon and enter the password.
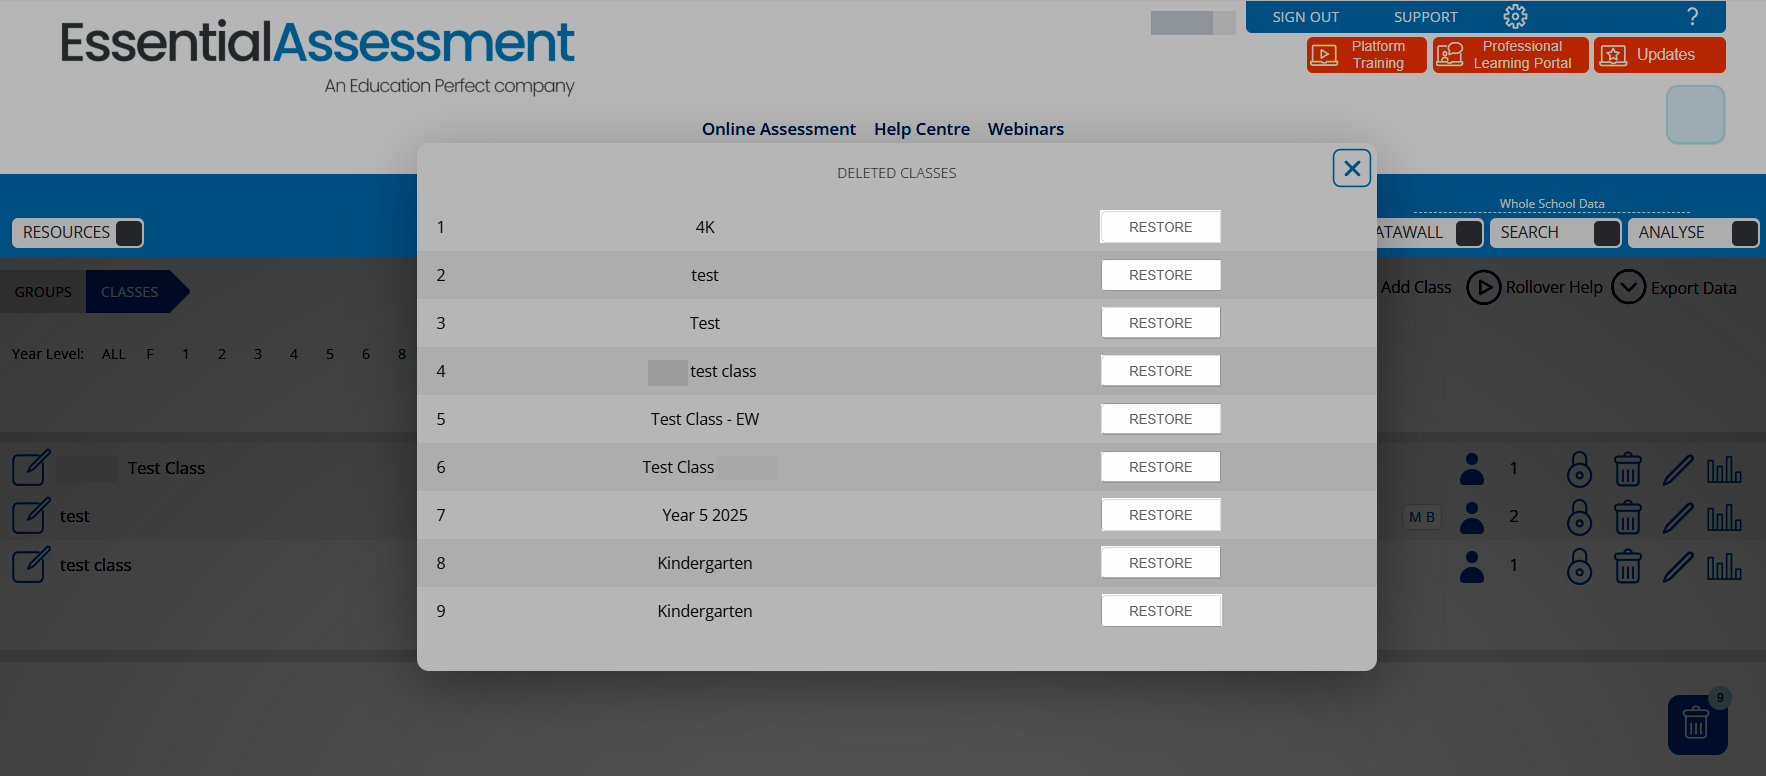
Retrieving a deleted class
To retrieve a deleted class, click the trash icon under the class list.

From here, click RESTORE.